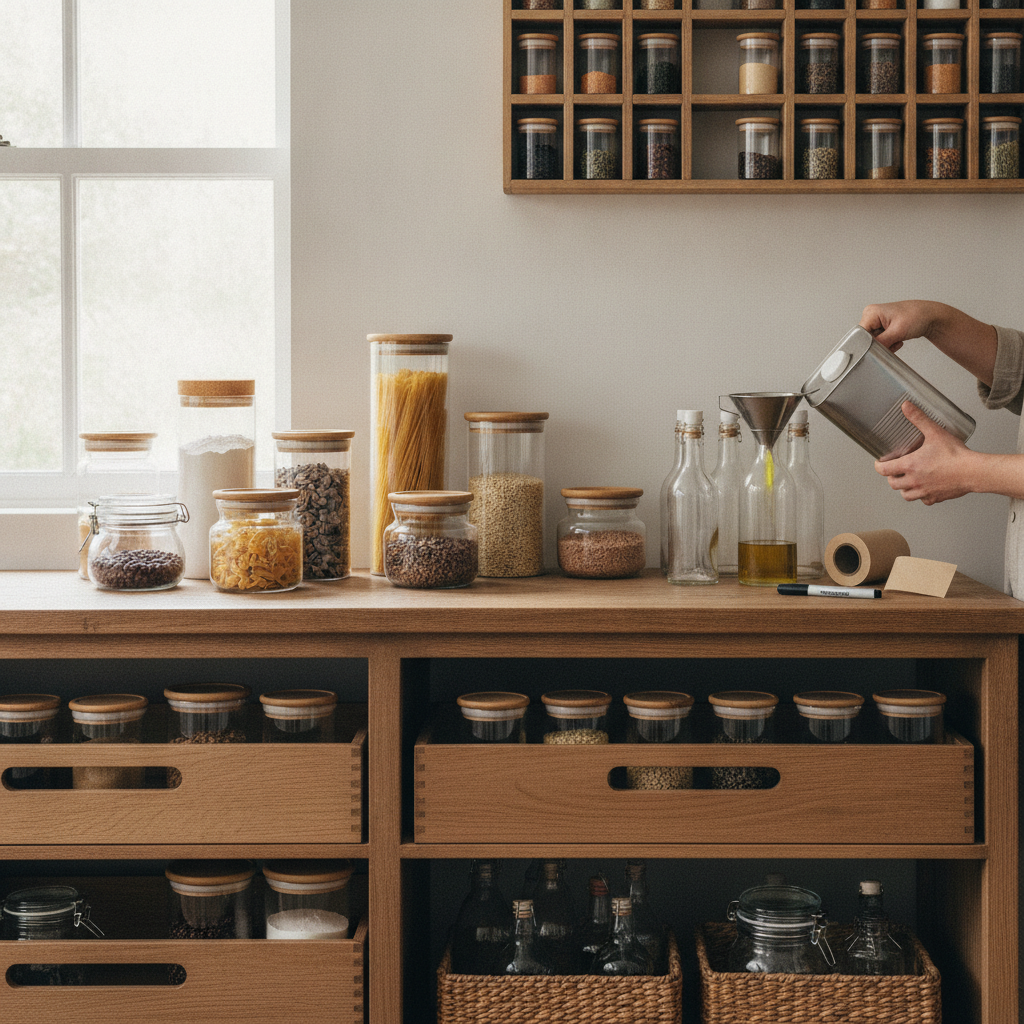
There is a particular kind of frustration that comes from reaching into the pantry and pulling out six half-empty bags of pasta, three open containers of oats, and a box of crackers that lost its resealable strip two weeks ago. Pantry chaos is one of those slow-building problems that starts with good intentions and ends with wasted groceries, duplicate purchases, and a general sense that your kitchen is working against you. A dedicated decanting station changes all of that — and it requires far less effort than you might expect.
Why a Decanting Station Earns Its Place in Any Pantry
Decanting is the practice of transferring dry goods and pantry staples from their original packaging into uniform, airtight containers. The idea has been around for generations, but it became especially visible through platforms like Pinterest and home organization accounts on Instagram, where neat rows of glass jars and labeled canisters turned functional storage into something genuinely appealing. The real value, though, isn't aesthetic. It's practical. When everything sits in the same type of container with a clear label, you can see at a glance what you have, what's running low, and what you can skip buying on your next grocery run. Over time, that visibility tends to reduce both food waste and impulse spending.
Choosing the Right Time of Year to Start
Timing matters more than people realize when it comes to pantry projects. The stretch between late summer and early autumn — roughly August through October — is one of the best windows to tackle this kind of reorganization. Seasonal grocery cycles shift during this period, with new staples coming into rotation for cooler-weather cooking. You're likely to be restocking your pantry with grains, legumes, soups, and baking supplies, which makes the transition to a decanting system feel natural rather than disruptive. Starting fresh with new purchases already decanted is significantly easier than working backward through months of accumulated packaging.
Gathering the Right Containers Without Overcomplicating It
You don't need to invest in a perfectly matched set on day one. The goal is airtight storage in uniform shapes that fit your shelves. Square and rectangular containers make the most efficient use of pantry space compared to round ones. OXO Good Grips makes a well-regarded line of stackable pop-top containers that seal reliably and come in a range of sizes. Kilner jars are another solid option if you prefer glass, offering an airtight swing-top closure that works well for items you access frequently. Before purchasing anything, measure your shelf height and depth so you're not guessing at what will actually fit. A bit of planning here prevents the common mistake of buying containers that look right online but can't stand upright in your actual pantry.
Setting Up a Simple Labeling System That Actually Sticks
Labeling is the step most people skip and later regret. Without clear labels, a decanting system gradually breaks down because containers start getting mixed up or refilled with the wrong contents. A simple, readable label doesn't have to be elaborate — a white label with the item name and any relevant expiry information is enough. Apps like Canva let you design and print matching label sheets at home with very little design experience required, and the result looks significantly more intentional than handwritten tape. If you prefer something tactile, a label maker from Brother produces clean, durable tags that hold up to pantry humidity. The key is to label every container before you put it away, not after.
Organizing the Station Around How You Actually Cook
The placement of your decanted containers should reflect the rhythm of your cooking, not a generic organizational template. Items you reach for daily — flour, sugar, rice, oats — belong at eye level and arm's reach. Less frequent staples like specialty grains, dried legumes, and baking soda can sit on higher or lower shelves without much inconvenience. Grouping by category rather than alphabetically tends to make cooking feel more intuitive, since ingredients that get used together live near each other. If your pantry has a designated prep surface or a countertop nearby, that's a natural spot to keep your decanting tools: a wide-mouth funnel, a small scoop, and a damp cloth for cleaning container rims before sealing.
Maintaining the System Without Letting It Slip
A decanting station only pays off if it stays functional past the first week. The maintenance habit that works best is building the decanting step directly into the grocery unpacking routine, so new purchases get transferred before they ever reach the shelf. An app like OurGroceries can help you track what's running low so you're restocking intelligently rather than guessing. Setting a seasonal refresh — even just a quick wipe-down and container audit four times a year — keeps the system from quietly accumulating the same clutter you started with. That quarterly check is also a good time to evaluate whether your container sizes still match your consumption patterns, especially if your household size or cooking habits have shifted.
The Bigger Picture of What a Decanting System Does for Your Pantry
A dedicated decanting station isn't really about making your pantry look like a magazine spread. It's about removing the daily friction that leads to forgotten ingredients, repeated purchases, and money spent replacing food that spoiled in its original packaging. When your pantry is organized around visibility and accessibility, shopping becomes more intentional, cooking feels less like an obstacle course, and the space itself starts supporting your routines rather than complicating them. The afternoon you invest in setting this up tends to pay back steadily for years — in groceries you actually use, meals you actually make, and a kitchen that genuinely works.