Tile is one of those design elements that can either blend quietly into a room or become the most eye-catching feature in the space. Much of that difference comes down to a single decision most people overlook entirely: grout color. When you choose a grout that contrasts with your tile rather than matches it, the individual tiles become visible as a pattern — each piece defined by a thin line that draws the eye and creates visual rhythm. Get that choice right, and even a simple grid layout can look intentional and striking.
If you've been staring at tile samples and grout swatches wondering how to make them work together, you're not alone. The pairing feels deceptively simple, but it shapes the entire mood of a room. These tips will help you approach the decision with confidence.
Choose Your Contrast Level Before Choosing Colors
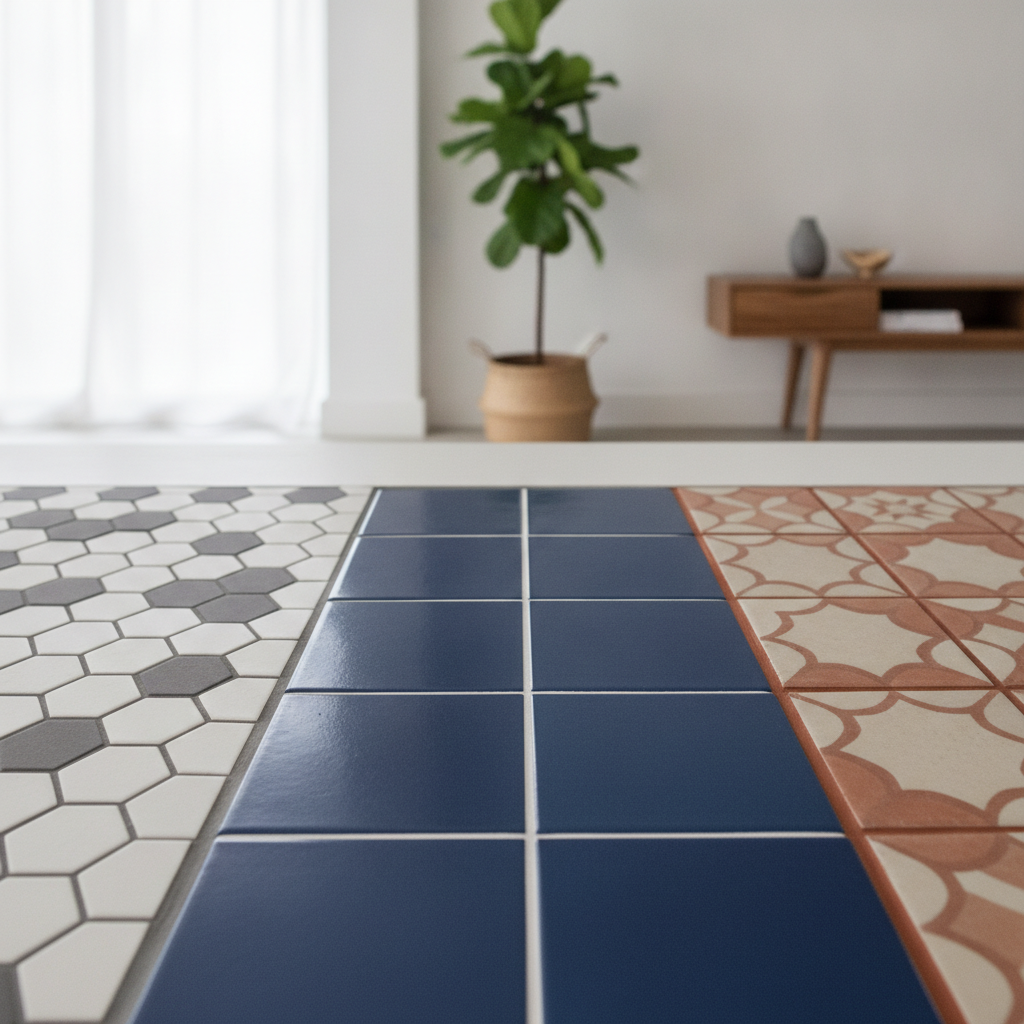
Contrast exists on a spectrum, and understanding where you want to land will guide every other decision. High contrast — think dark charcoal grout against bright white subway tile — creates bold definition and draws attention to the layout. Medium contrast, like warm gray grout with off-white tile, adds subtle texture without dominating the space. Low contrast, where grout and tile are close in tone, lets the surface read as a unified field. Deciding on your contrast level first prevents you from falling in love with a grout color that fights with your tile rather than working alongside it.
Use Dark Grout to Highlight Geometric Tile Shapes
If you've chosen tiles with an interesting shape — hexagons, diamonds, arabesque, or any format beyond a standard rectangle — dark grout is one of the most effective ways to make that geometry visible. Brands like Mapei and Custom Building Products offer deep charcoal and espresso tones that outline each tile like a sketch. The effect is particularly strong in bathrooms and kitchen backsplashes, where the tile surface is close to eye level and the pattern gets full attention. Even a modest four-inch hexagon tile in matte white becomes a graphic statement when set in near-black grout.
Try White Grout Against Darker Tiles for a Fresh, Airy Effect
Contrast doesn't have to mean going darker — going lighter works just as well and creates a completely different mood. White or cream grout against slate gray, navy, or forest green tile lifts the surface visually and gives it an open, almost hand-crafted quality. This approach suits Scandinavian-inspired interiors and rooms with limited natural light, where dark grout might absorb too much brightness. Keep in mind that lighter grout on darker tiles can show residue more easily, so sealing it regularly with a product like Aqua Mix Sealer's Choice helps maintain the effect long-term.
Match Grout to Your Tile's Accent Color for Cohesion
Not every contrast has to be stark. One of the more sophisticated approaches is picking up a secondary or accent color from within the tile itself and using it for grout. If your encaustic cement tiles feature both ivory and dusty terracotta, a terracotta-toned grout creates warmth and cohesion without blending everything into mush. The grout lines reinforce the palette rather than interrupting it. This works especially well with patterned or hand-painted tiles, where the goal is to celebrate the design without adding competing visual noise.
Consider the Room's Lighting Before Committing
Lighting changes grout color dramatically between a showroom and your actual home. A warm incandescent bulb shifts cooler grays toward beige, while bright LED lighting can make medium tones look almost stark white. Before finalizing your grout choice, test a small patch in the actual space under both natural daylight and your installed lighting. TEC brand sanded grout, for instance, offers a wide range of tones that look noticeably different depending on light conditions. What reads as a soft dove gray at a tile supplier may appear nearly white in a sun-drenched kitchen.
Use Grout Width to Amplify or Soften the Contrast Effect
Grout joint width is a practical factor that also shapes how visible your contrast will be. Wider joints — common with larger format tiles or rustic installations — create more surface area for the grout color, making contrast more pronounced. Narrow joints, like the hairline gaps used in contemporary rectified tile layouts, reduce the contrast impact even when the color difference is significant. If you want a dramatic pattern effect with bold grout, slightly wider joints help. If you prefer a more restrained look, tighter joints let the tile do more of the work.
Coordinate Grout Color with Adjacent Surfaces
Grout doesn't exist in isolation — it reads alongside your floor, cabinetry, countertops, and wall color. A high-contrast dark grout on a backsplash can look sleek against white Shaker cabinets but feel heavy next to dark wood cabinetry. When your surrounding surfaces are already varied in tone, a medium-contrast grout often bridges the gap more gracefully. In rooms like a New York City brownstone-style bathroom with warm wood accents, an earthy mid-tone grout unifies the palette while still giving the tile pattern enough definition to register.
Test a Full Tile Section, Not Just a Chip
Grout chips and sample cards are useful starting points, but they don't tell the whole story. A grout color that looks perfect on a two-inch chip can feel overwhelming or underwhelming once it's filling dozens of joints across a full wall. Whenever possible, mock up at least a square foot of your tile with the intended grout, let it dry completely, and assess it from a few feet away. Many tile specialty stores and flooring showrooms will assist with this, and taking that extra step before committing to a full installation saves a significant amount of time and expense.
The right grout color turns a functional surface into a design feature you'll appreciate every day. You don't need a dramatic renovation or an expensive tile to get a striking result — the contrast you build into the joints does most of the visual work. Start with one small area, trust the test, and let the pattern speak for itself.