Sunlight does more work in your home than you probably give it credit for. It shifts throughout the day, changes intensity with the seasons, and quietly determines whether a room feels inviting or oddly uncomfortable — and most people arrange their furniture without ever accounting for it. If you've ever moved a sofa three times and still felt like something was off, natural light mapping might be the missing step in your process.
The good news is that this isn't a complicated technique. It's really just the practice of observing how light moves through your rooms before you commit to a single furniture arrangement. Once you understand where the light lands — and when — every placement decision gets a lot easier.
Walk Every Room at Three Different Times
Before moving a single piece of furniture, spend one full day walking through each room at morning, midday, and late afternoon. Notice where direct sunlight falls, which corners stay dim, and where the light creates glare on walls or floors. Jot notes or take photos on your phone — apps like Magicplan can help you document this visually. What you're building is a mental (or literal) map of how each room behaves across the day, which becomes the foundation for every placement decision that follows.
Use a Simple Floor Plan to Mark Light Zones
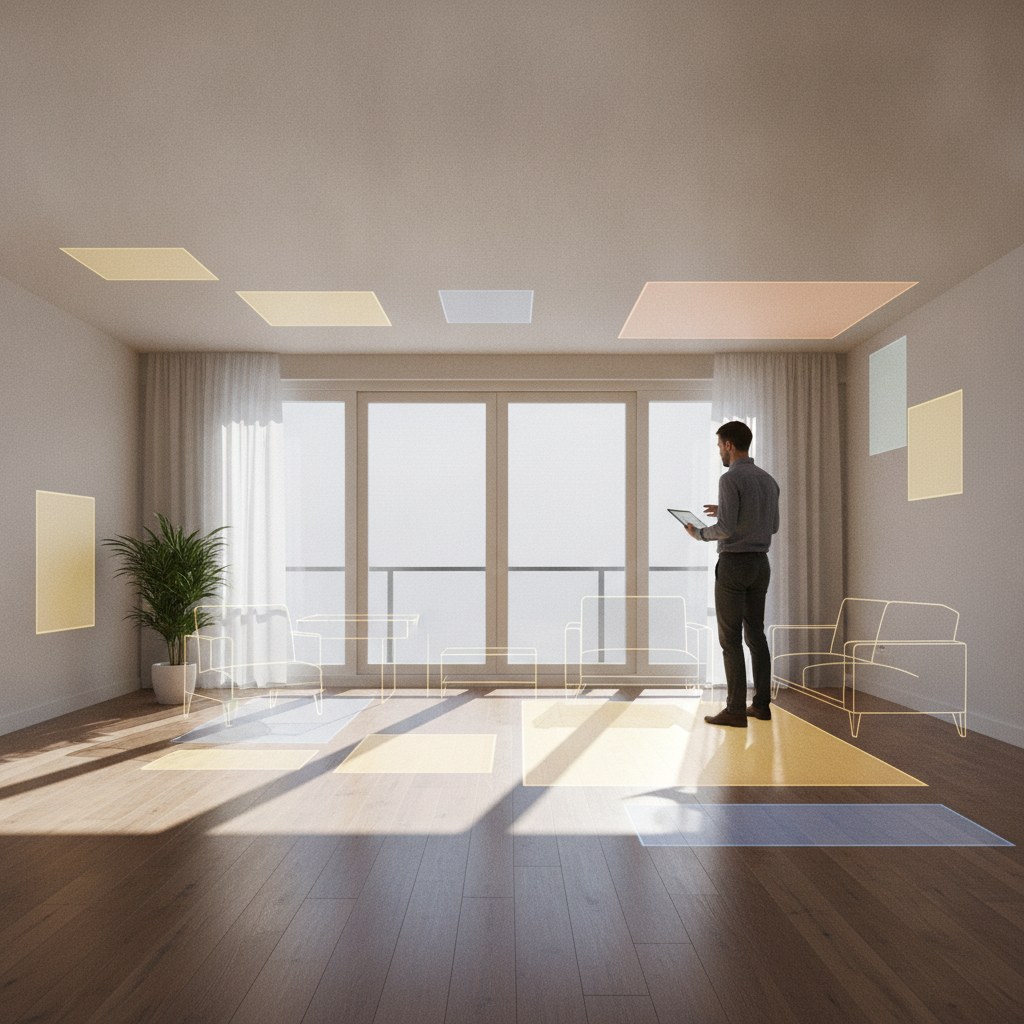
Once you've observed the light, sketch a rough floor plan and shade in the zones. Bright zones are where direct sun hits for an hour or more. Mid-zones get filtered or reflected light. Shadow zones stay consistently dim. This doesn't need to be architect-level precision — even a hand-drawn grid on paper works. Tools like RoomSketcher make this step faster if you want a digital version. The goal is to see your room as a patchwork of light conditions rather than one uniform space.
Place Seating Where the Light Complements, Not Fights
A common mistake is placing a primary seating area directly in front of a west-facing window. By late afternoon, anyone sitting there is squinting, and guests across from them can barely see their faces. Instead, position sofas and chairs perpendicular to strong light sources, or use them to face windows without sitting directly in the beam. Neighborhoods like Brooklyn's Park Slope or San Francisco's Mission District are full of older apartments with quirky window placements — residents there learn quickly that angling furniture slightly makes a dramatic difference in livability.
Protect Sensitive Pieces from Direct Exposure
Natural light is beautiful, but prolonged direct sun fades upholstery, warps wood, and bleaches rugs faster than most people expect. Once you've mapped your light zones, use that knowledge to steer certain pieces away from high-exposure areas. Antique furniture, dark wood pieces like those from Crate & Barrel's solid walnut lines, and richly colored textiles deserve placement in mid-zones or shadow zones. Reserve the bright zones for pieces that can handle it — metal, glass, painted surfaces, or items you plan to replace in a few years anyway.
Let Light Guide Your Reading and Work Corners
Natural light is at its most useful when it's positioned over your shoulder, falling onto a surface rather than into your eyes. When placing a reading chair, desk, or craft table, use your light map to find spots where morning or midday light arrives from the side. North-facing rooms tend to offer the most consistent, diffused light throughout the day — ideal for home offices. East-facing spots work beautifully for morning reading nooks since the light is soft and warm before it intensifies. Matching the activity to the light zone makes these spaces genuinely functional rather than just decorative.
Think About Mirrors as Light-Moving Tools
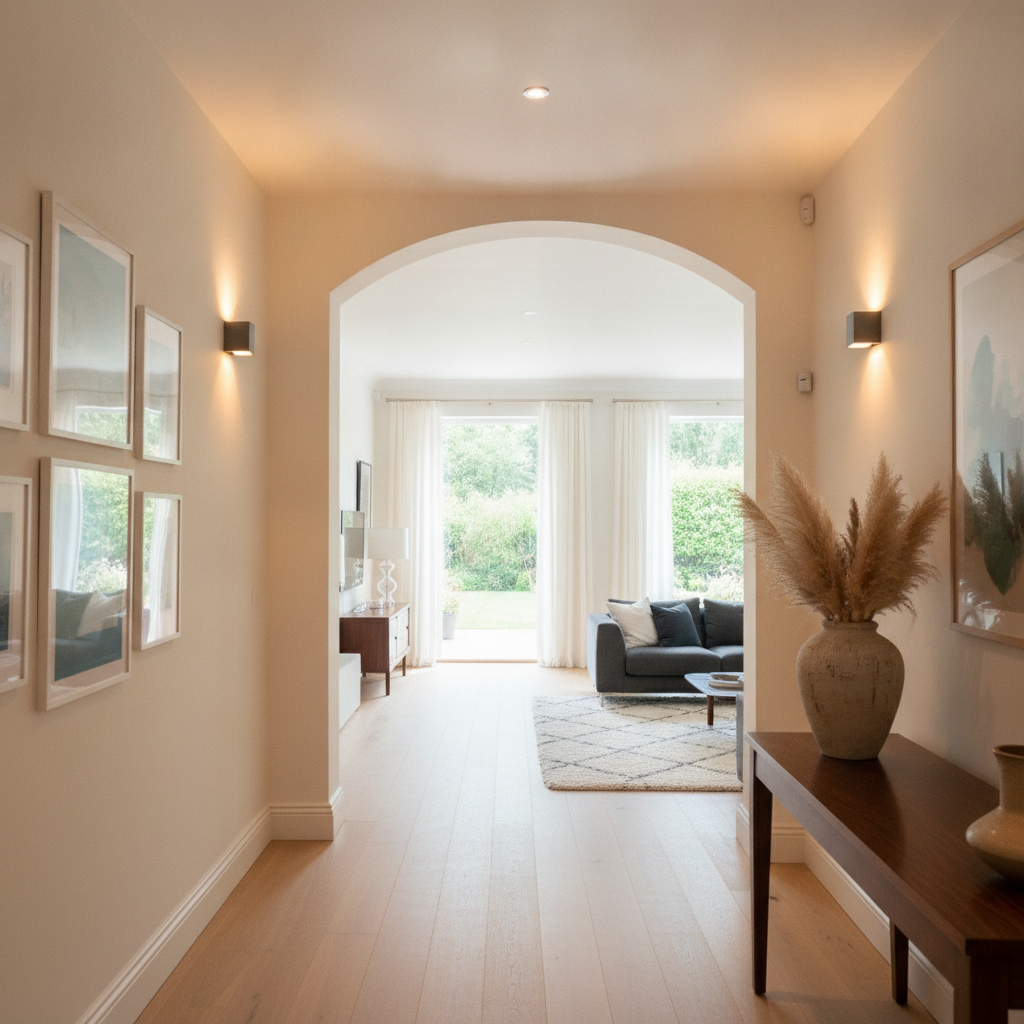
Mirrors don't just reflect your reflection — they redirect and amplify whatever light is already in the room. Once you know where your bright zones are, you can use a strategically placed mirror to push that light deeper into a dim corner. A large mirror on a wall adjacent to a south-facing window, for example, can effectively double the perceived brightness of an otherwise dark hallway. IKEA's HEMNES mirror series and West Elm's Floating Wood mirrors are commonly used for exactly this purpose. Placing mirrors before finalizing nearby furniture helps you understand how the light dynamics shift.
Revisit Your Map Seasonally
Here's something worth knowing: the light in your home in June looks nothing like it does in December. The sun's angle changes significantly across seasons, meaning a corner that feels perfectly lit in summer might turn into a shadowy corner by winter. Doing a quick light check in different seasons — or at minimum, in a warm month and a cool month — prevents unpleasant surprises after you've already arranged everything. A simple reminder in your calendar every few months keeps this from becoming a once-and-done exercise that stops being accurate after a few weeks.
Adjust for Artificial Light Once Natural Mapping Is Done
Natural light mapping doesn't mean ignoring lamps and overhead fixtures — it means letting natural light lead first, then layering in artificial sources around it. Once your furniture is placed according to your light map, you'll find it much easier to identify exactly where a floor lamp or task light is needed. The dim corner your sofa now faces, the reading chair just outside the morning light zone, the dining table that sits in shadow by evening — these gaps become obvious and easy to fill intentionally. Brands like Flos and Artemide make directional fixtures that integrate smoothly into a light-mapped room without overpowering it.
Taking time to understand your home's light before arranging furniture pays off in ways that are hard to quantify but very easy to feel. Rooms become more comfortable, furniture lasts longer, and the whole space starts to work with you instead of against you. Start with just one room, spend a single day tracking the light, and let what you find guide the first placement. That one step tends to make everything else click into place.